Here is our guide to the hot foil blocking process, from artwork receipt to the finished product.
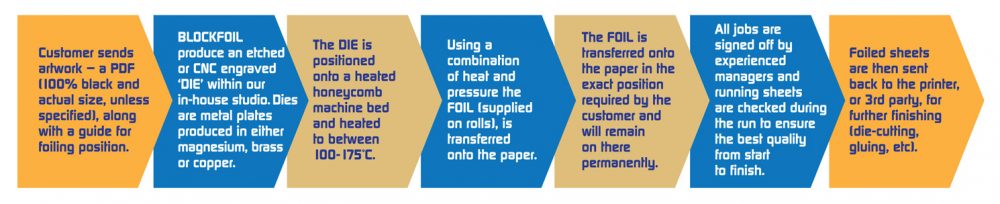
- We receive the client’s artwork in our in-house design studio as a pdf, 100% black and actual size (unless specified). Along with the guide for foiling position that is all we need at this stage. See a full list of our artwork requirements here.
- We produce either a CNC engraved or an etched die in-house. Dies are metal plates produced in either magnesium, brass or copper. We etch them to a standard 1.2mm depth but deeper finishes are available upon request. More information on our hot foil printing dies can be found here.
- We position the die onto the heated machine bed of the selected hot foil blocking press. The machine reaches a heat of between 100-175°C. We then prepare the substrate for foiling. Find a list of substrate types we foil onto here.
- Using a combination of heat, dwell time and pressure, we transfer the foil (supplied on rolls) onto the substrate. You can find out exactly how the foil works here.
- The hot foil transfers onto the substrate in the exact position required by the client and will remain on there.
- All jobs are quality checked and signed off by experienced managers. We check running sheets to ensure the quality remains throughout. That’s the hot foil stamping process complete.
- The finished sheets complete with hot foil get sent back to the printer or 3rd party for further finishing (die cutting, gluing etc)
A printed copy of our ‘how foiling works’ insert can be found in our brochure. Click here to request a full Blockfoil brochure.
Hopefully this page has helped you understand the hot foiling process but if not don’t hesitate to get in touch with your local Blockfoil office.